Ledger.com/start – Your Official Guide to Setting Up a Ledger Hardware Wallet
When it comes to protecting cryptocurrency, security is everything. With online threats increasing every year, investors are turning to hardware wallets for safer long-term storage. If you’ve just purchased a Ledger Nano S Plus, Ledger Nano X, or Ledger Stax, the first step in securing your assets begins at Ledger.com/start—the official onboarding page for all Ledger devices. This guide explains what the page is for, how to use it, and why it’s essential to follow the correct setup process.
What Is Ledger.com/start?
Ledger.com/start is the official Ledger setup portal designed to walk new users through securely initializing their hardware wallet. Instead of relying on third-party tutorials or random websites, Ledger centralizes everything in one place to reduce the risk of scams, phishing, and misconfigurations. The page provides software downloads, safety instructions, and step-by-step guidelines for first-time users.
If you’ve never used a hardware wallet before, the instructions at Ledger.com/start help ensure your device is genuine, uncompromised, and set up correctly.
Why Start at Ledger.com/start?
Setting up a hardware wallet is not something you want to guess your way through. Here’s why using Ledger.com/start is recommended:
1. Official Software Download
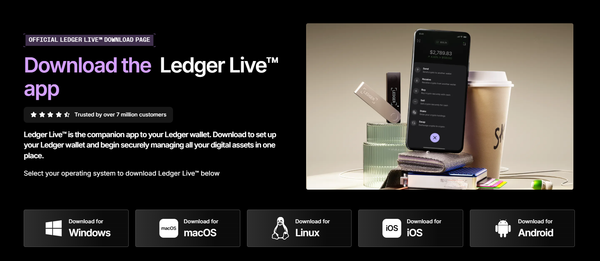
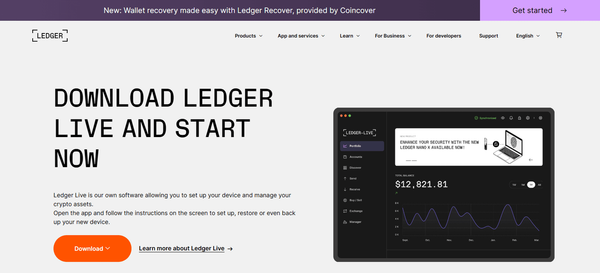
The page links directly to Ledger Live, the only official app used to manage Ledger devices. Downloading it from Ledger.com/start ensures you avoid fraudulent versions or malware-infected files.
2. Device Verification
Ledger’s onboarding tools guide you through verifying whether your device is authentic. This prevents the use of tampered or pre-seeded wallets that could steal your assets.
3. Secure Recovery Phrase Setup
At Ledger.com/start, you’re reminded that your 24-word recovery phrase belongs only to you. Ledger never stores it, and no employee will ever ask for it. The setup flow ensures you understand how to write, store, and protect it.
4. Step-by-Step Configuration
From creating a PIN to installing the first apps on your device, the instructions simplify setup for beginners and help advanced users avoid mistakes.
How to Use Ledger.com/start – Step-by-Step
If you’re ready to activate your Ledger wallet, here’s a quick overview of the process you’ll find at Ledger.com/start:
- Visit Ledger.com/start using your browser.
- Choose your device model (Nano S Plus, Nano X, or Stax).
- Download Ledger Live for Windows, macOS, or Linux.
- Install and open Ledger Live, then select “Set up a new device.”
- Follow on-screen instructions to create a PIN and generate your recovery phrase.
- Confirm your recovery words on the device to ensure accuracy.
- Install crypto apps such as Bitcoin, Ethereum, or others depending on your portfolio.
- Add accounts inside Ledger Live and start receiving crypto securely.
The process is designed to be beginner-friendly while maintaining advanced security standards.
Safety Tips When Using Ledger.com/start
To maximize the protection of your assets:
- Only enter Ledger.com/start manually—never use links from messages or emails.
- Keep your 24-word recovery phrase offline and never store it on your phone or computer.
- Always verify that Ledger Live updates come from the official source.
- Be cautious of impersonators offering technical support or asking for private information.
Final Thoughts
Ledger.com/start is the safest and most reliable place to set up your Ledger hardware wallet. Whether you’re securing Bitcoin, Ethereum, or any other digital assets, starting the process through the official setup portal ensures your wallet is authentic and your funds remain protected. Taking a few extra minutes to follow the official steps can save you from major security risks later on.